
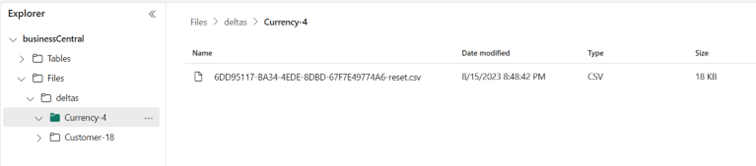
In part two we are looking at the Fabric side of the integration with Business Central and bc2adls extension. Part one you can read here. With the export to Fabric, all the delta files are in place and must be consolidated into a new table or an existing table.
That is done through a notebook script in Python in three steps. But first the settings:
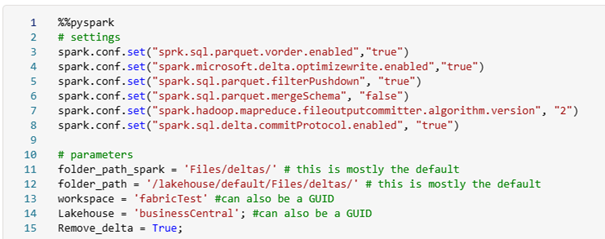
In this case, we have to set some parameters. The first two parameters are the standard folders that don’t have to change.
For the Workspace parameter, you can fill in your workspace name or the GUID of it. That is also the same as the lakehouse parameter.
For the Remove_delta if you set it to True then all your delta files will be removed. In a production environment please put this always to True. Otherwise, the step of removing duplicates will take a long time.
From CSV files to Dataframe
First, we have to pick up all the CSV files from the directory and load them into a data frame:
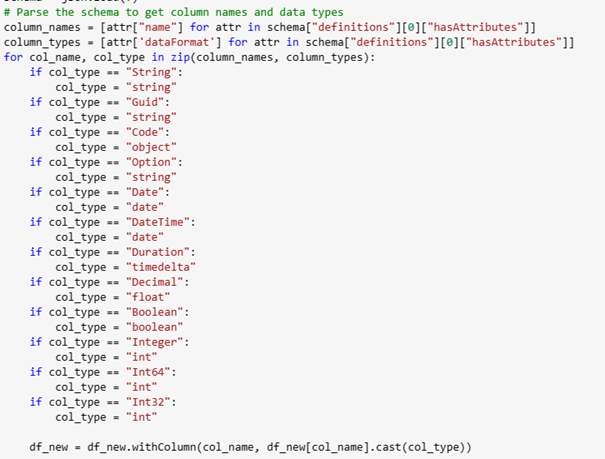
 After that is loaded we are changing all the column types based on the manifest file we have exported from Business Central. In that way, the column types are the same as in Business Central:
Delete the deleted records
When a record is deleted in Business Central it will get an entry in the table “ADLSE Deleted Record”. Those records will also be exported but with a field “SystemCreatedAt” that is blank. In this way, we can filter it in a new data frame and do a join with our current data frame:

A ‘left anti join’ returns only the rows from the left data frame (df_new in this case) which do not have a matching key in the right data frame.
Overwrite the changed records
Then the last action (before importing it into a lakehouse table is to overwrite the changed records in Business Central. In that case, we are sorting the dataset on systemId and SystemModifiedAt. After that, we drop the duplicate. With the function dropDuplicates it doesn’t drop the first record. But all other records will be dropped:

Now we are done and can override the data frame with the data in the existing table.
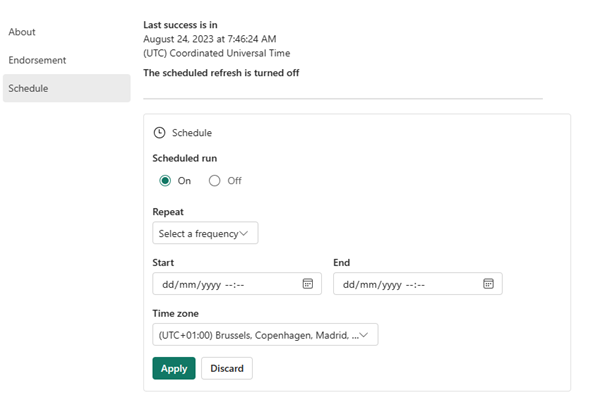
Schedule the notebook
You can also schedule the notebook. In this way, you don’t have to create a pipeline and schedule that:

You can select the Repeat option. The start and end days are optional:
Access your data in PowerBI
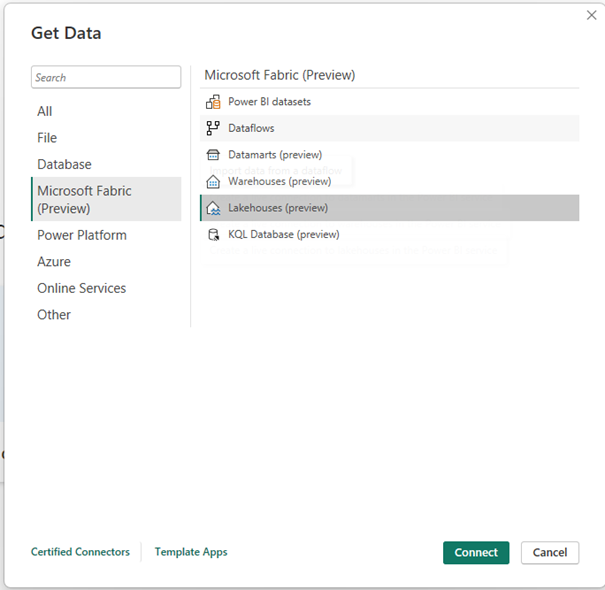
In the PowerBI desktop you can choose to get Data you can see there also Microsoft Fabric:
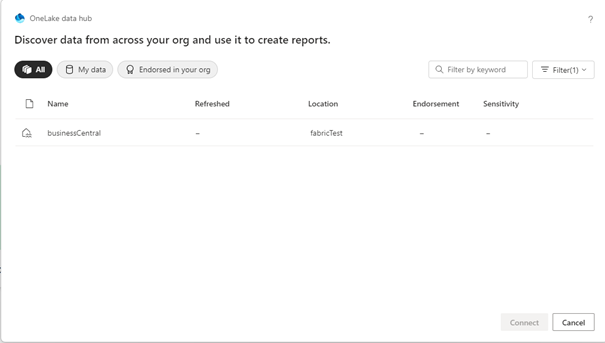
After that, you can select your lakehouse:
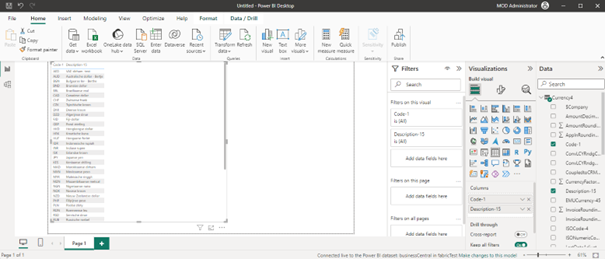
And your Business Central data is in your PowerBI:
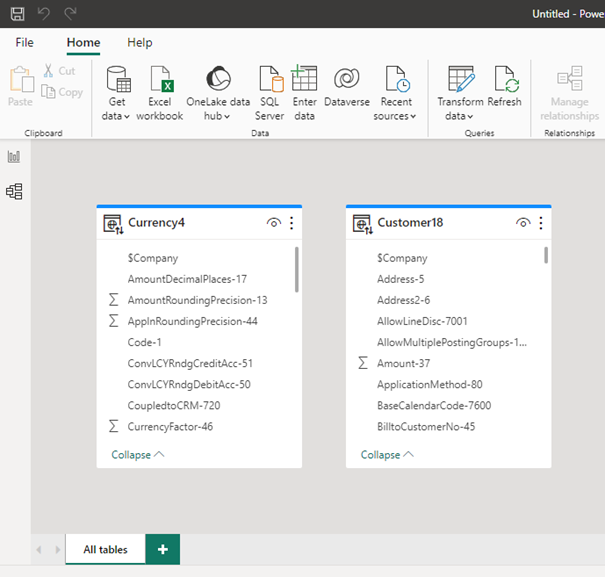
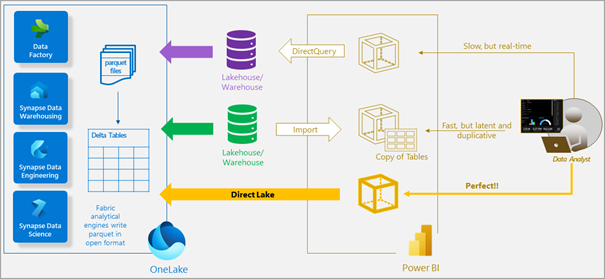
Because the data is already in OneLake and a lakehouse with delta tables it can use Direct Lake. So it doesn’t have to load all your data into a dataset (like data from an Azure Data Lake) and present it in Power BI:
Learn about Direct Lake in Power BI and Microsoft Fabric – Power BI | Microsoft Learn
All the code of the notebook can be found in this branch:
bc2adls/fabric/CopyBusinessCentral.ipynb at Microsoft-Fabric-Integration · Bertverbeek4PS/bc2adls (github.com)
-
Share this blog